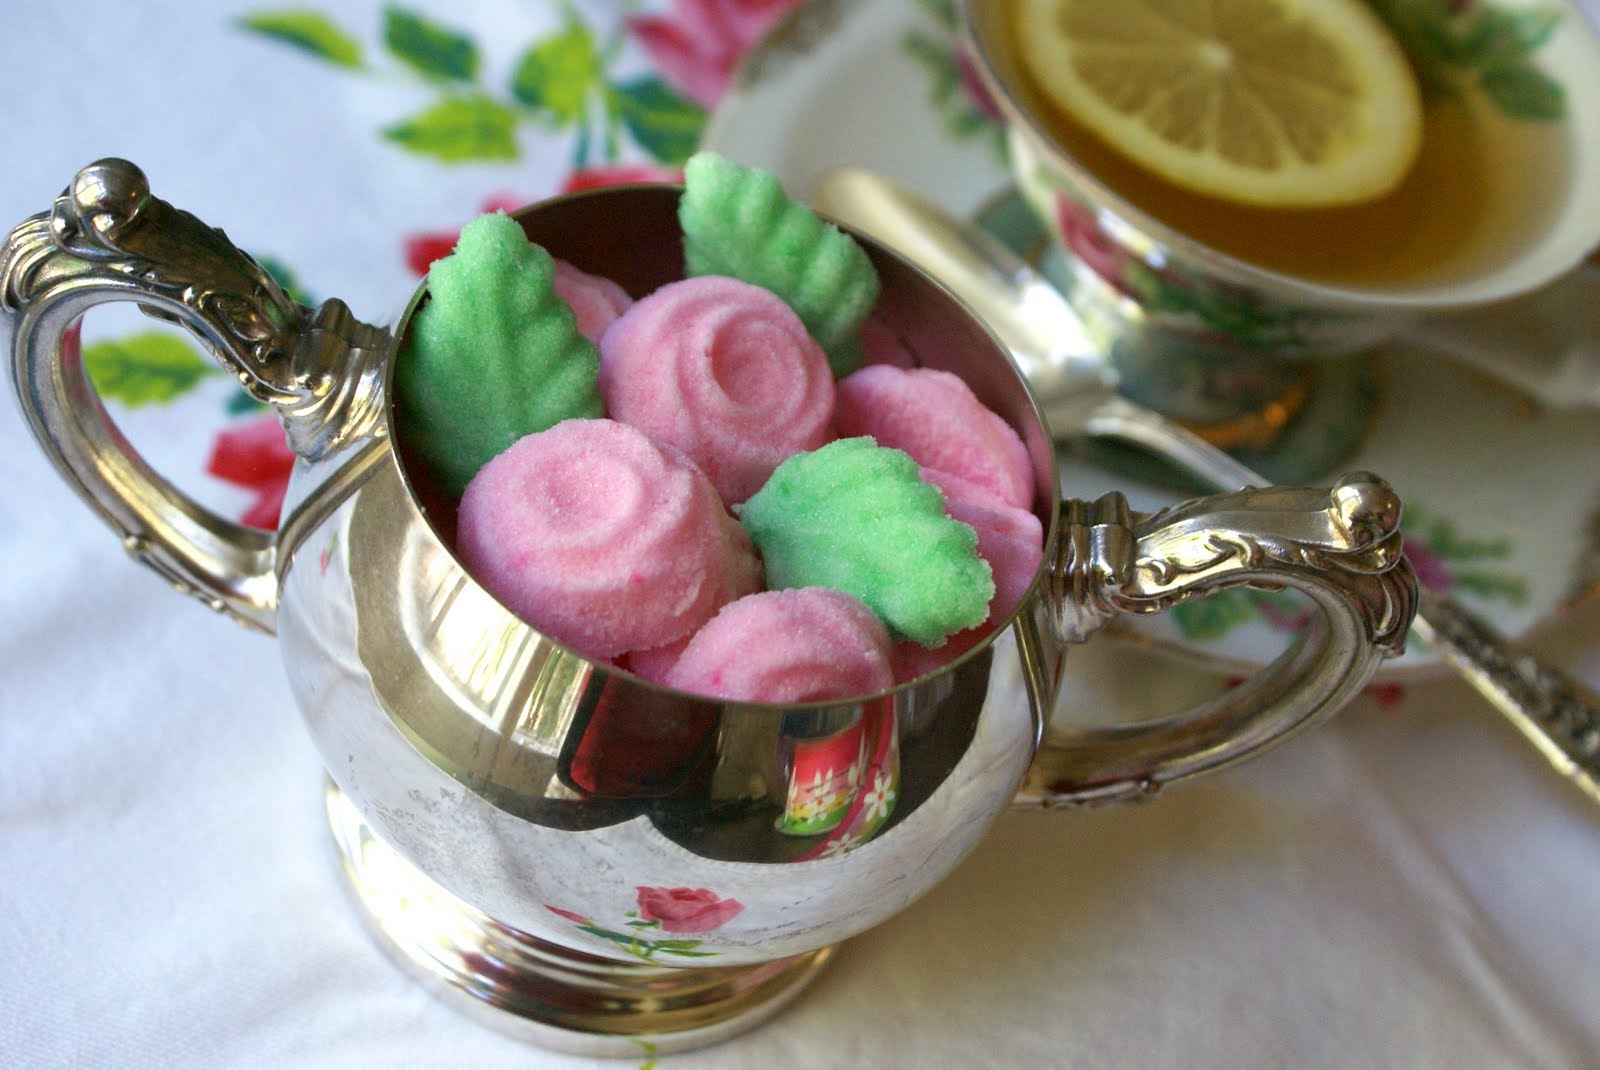
Molded sugar makes for a very pretty presentation at tea time and they’re very easy and quick to make.
This project took me less than 20 minutes from start to finish.

Things you will need:
- Superfine or regular Sugar
- Food Coloring
- Water
- Plastic Candy Mold
- Cardboard
- Baking Sheet (optional)
Roses and leaves are nice for spring, Easter or Mother’s Day. 🙂
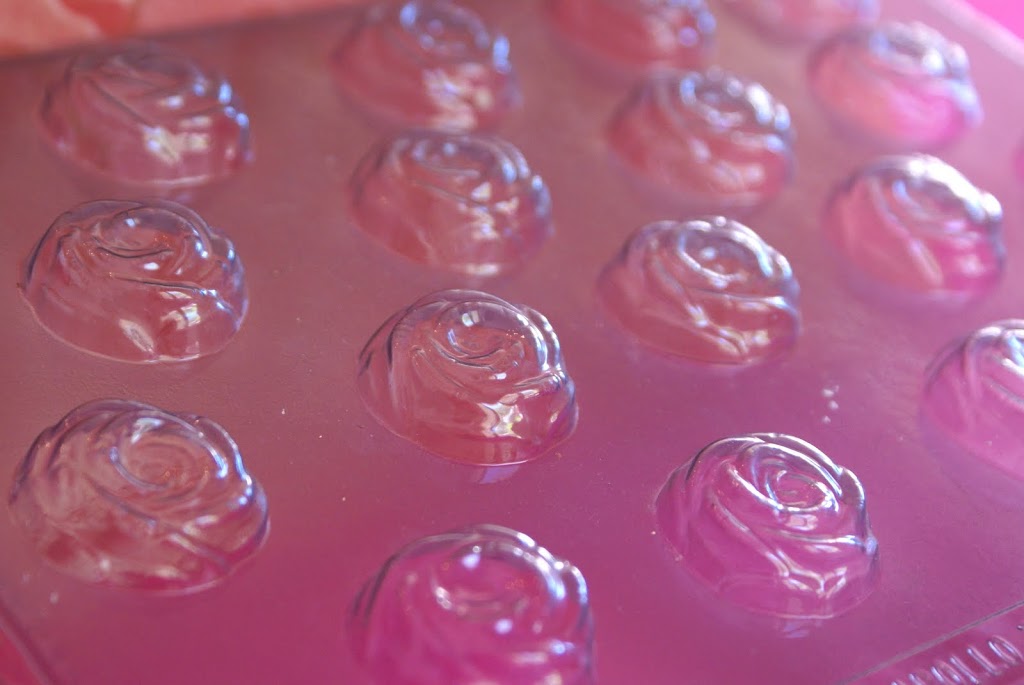
Hearts are nice for Valentine’s Day, wedding showers and weddings.
How To Make Molded Sugar
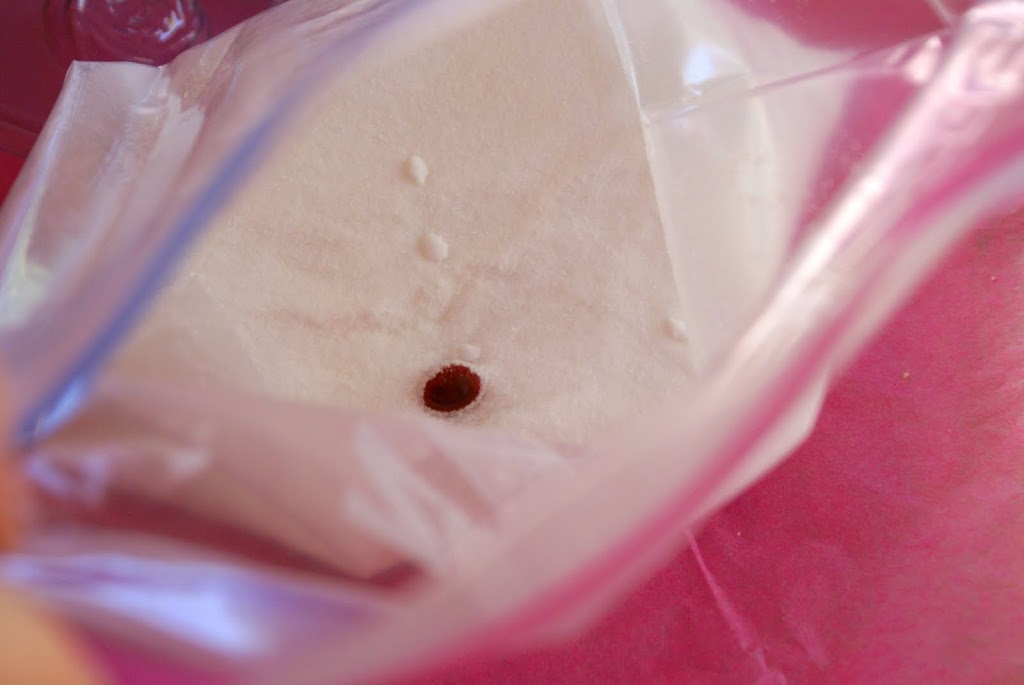
Place about 3/4 c. of sugar into a zip lock bag.
The amount of sugar depends on how many you wish to make.
Add one drop of food coloring.
I used a gel color for cake decorating but any liquid-type will work fine. You’ll see once you start mixing it if you want more intensity of color but start with a tiny amount. Usually a drop or two is all you’ll need.
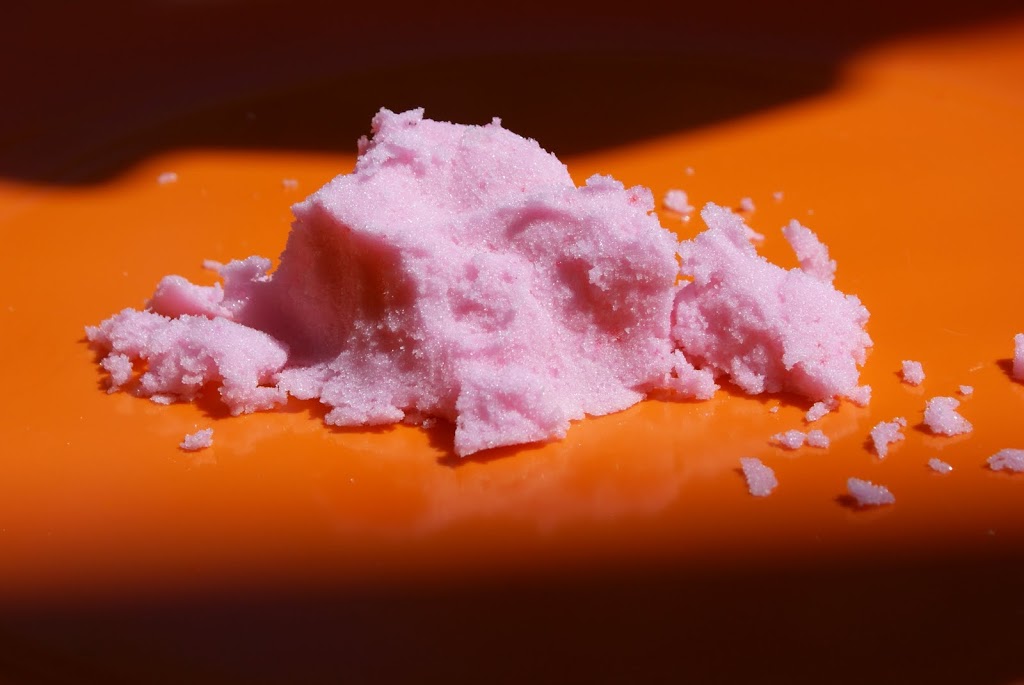
Add enough water to moisten the sugar.
Maybe a little less than a tablespoon. We want the consistency of wet sand that will hold it’s shape when you squeeze it.
If your sugar mixture is too wet, add more sugar. Too dry? Add more water. Color too intense? Add more sugar and adjust the water. There is no exact recipe and you cannot do it wrong. Isn’t that great?
Smoosh it all together in the baggie. Leave some air in it so you have room to move the sugar around to mix everything. If you’re making a lot of sugar mixture you can use an electric mixer.
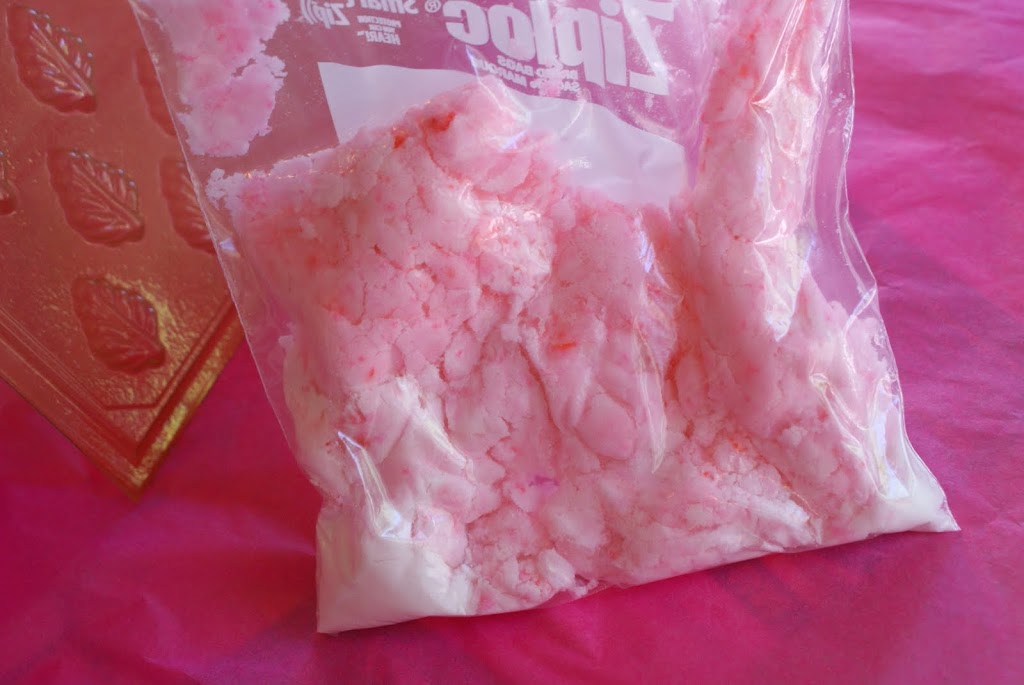
You might give it one last final smoosh with your fingers in the bag to make sure all the color is mixed.
Here is my pink ‘sand’ ready for the molds.
Press the loose mixture into the molds.
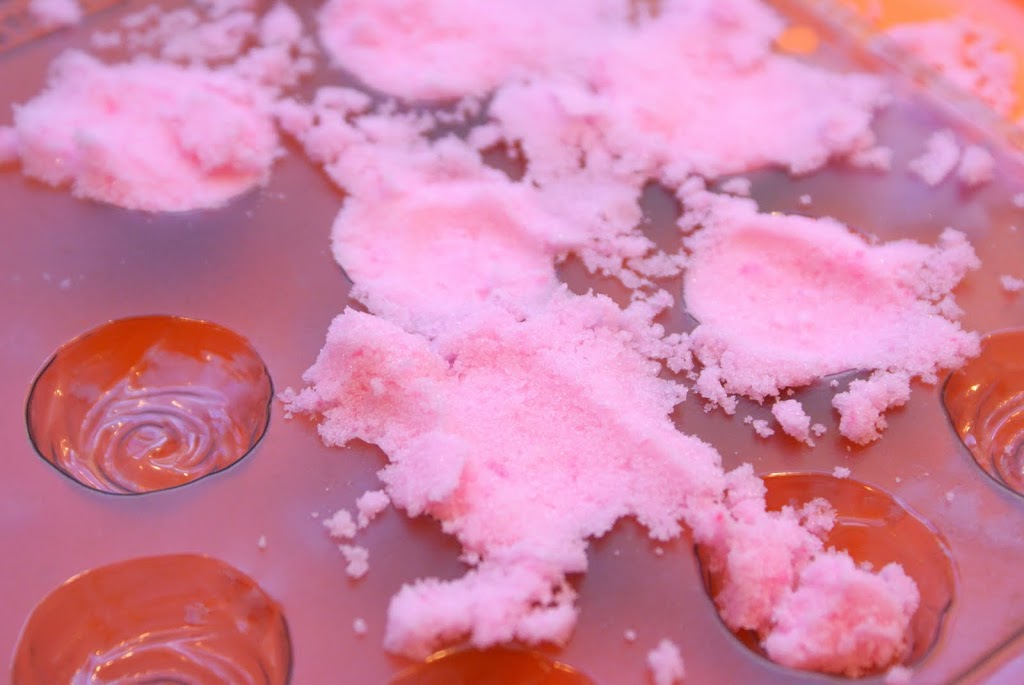
I usually take a peek on the under side to make sure I have it all in the form.
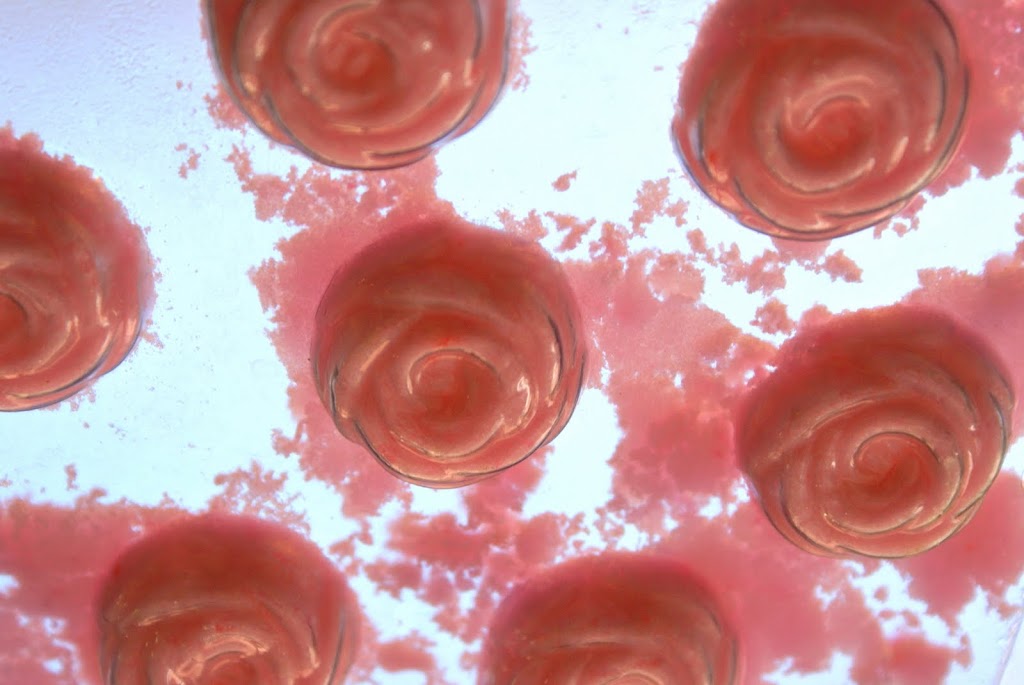
Level off with a spatula or knife.
Place a piece of cardboard over the back of the mold and flip it over. Before lifting the cardboard, I tap each mold cup with the spatula to make sure it is released. From here, you can air dry or place the sugars on the cardboard on a baking sheet in a warm oven to dry.
This will take about 10 minutes.

Tips:
Do not let the sugar harden in the mold.
It will not come out if the mixture is dry.
I like working with cardboard or poster board sheets because if you do want to speed up the drying process you can add more than one finished set to your baking sheet. Can’t do that if your baking sheet is what you flipped your sugars onto to dry.
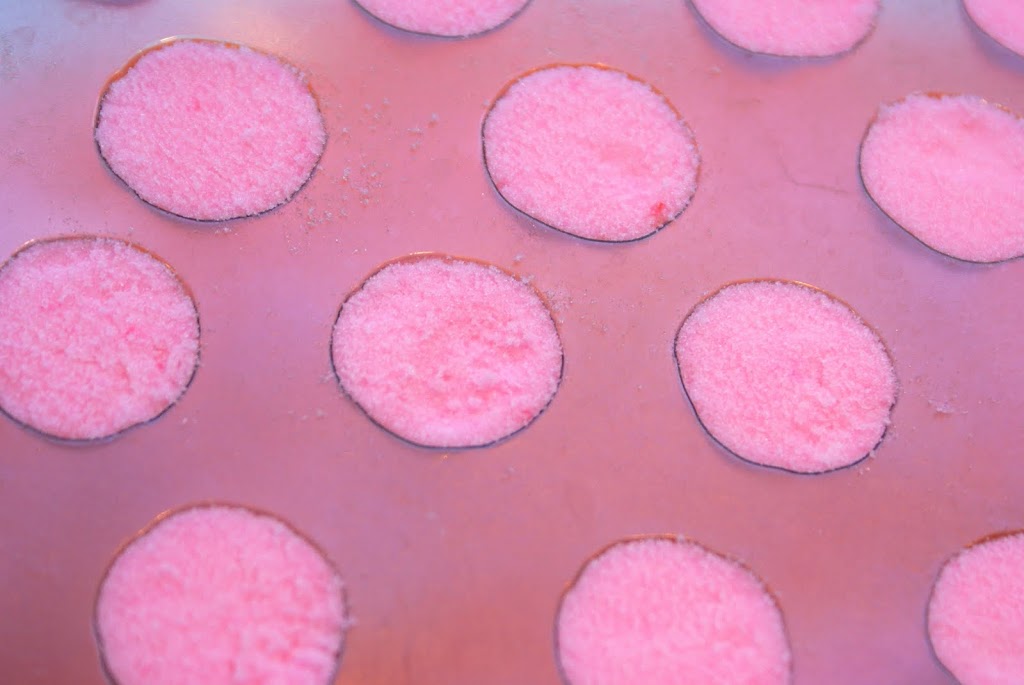
Ta da!
Your sugars are ready for their close up and you have a wonderful gift or presentation with your tea or coffee, for company, or just for you!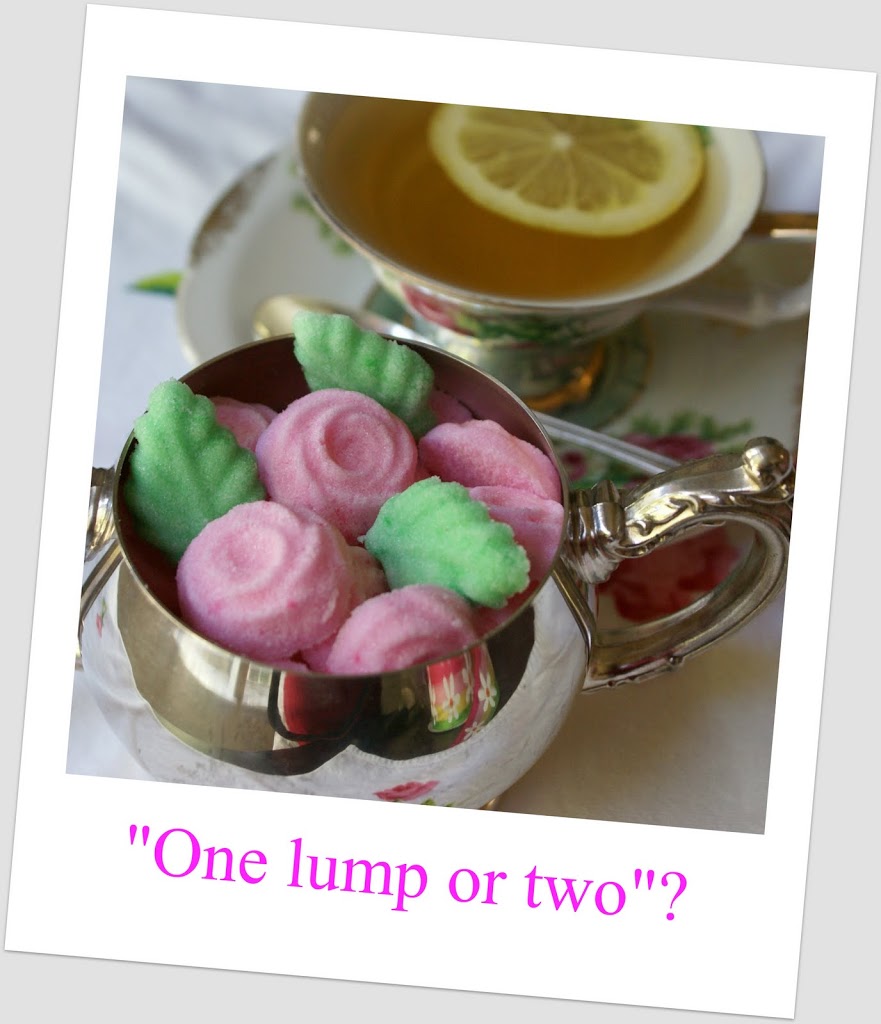
Presentation Ideas:
- Fill a tea cup with the sugars and give for a birthday or hostess gift.
- Place the sugars in a cello bag and make a cute topper with ribbon.
- Fill a small bowl with daisy and leaf sugars for summer parties with homemade lemonade.
- Fill a small bowl with red, white and blue molded stars for July 4th.
Take a click over to Nancy at The Trinket Collector and see her cute bunny and leaf sugars she made this morning after reading my post! I love it!!
If you make them too let me know I’ll link you up today!
Here’s a sneak ‘peep’ for tomorrow…

Have a marvelous Monday, friends!


