Fourth of July is one of my favorite holidays – the festive atmosphere from parades early in the day to the anticipation of sparkling, booming fireworks late at night. The entire day is wrapped up in a trio of colors and feelings that resonate from a place of deep love for my country.
I love the patriotic bunting and paper lanterns strung across the lights that criss-cross from under the eves of the roof to the big trees in our backyard. Everything about this day has to say it’s a day of celebration so the dessert has to be just as festive and colorful, don’t you think? I’d like to add, and easy and to me this means cupcakes that anyone can help themselves to at their leisure after a rousing game of croquet or when the first boom is heard.
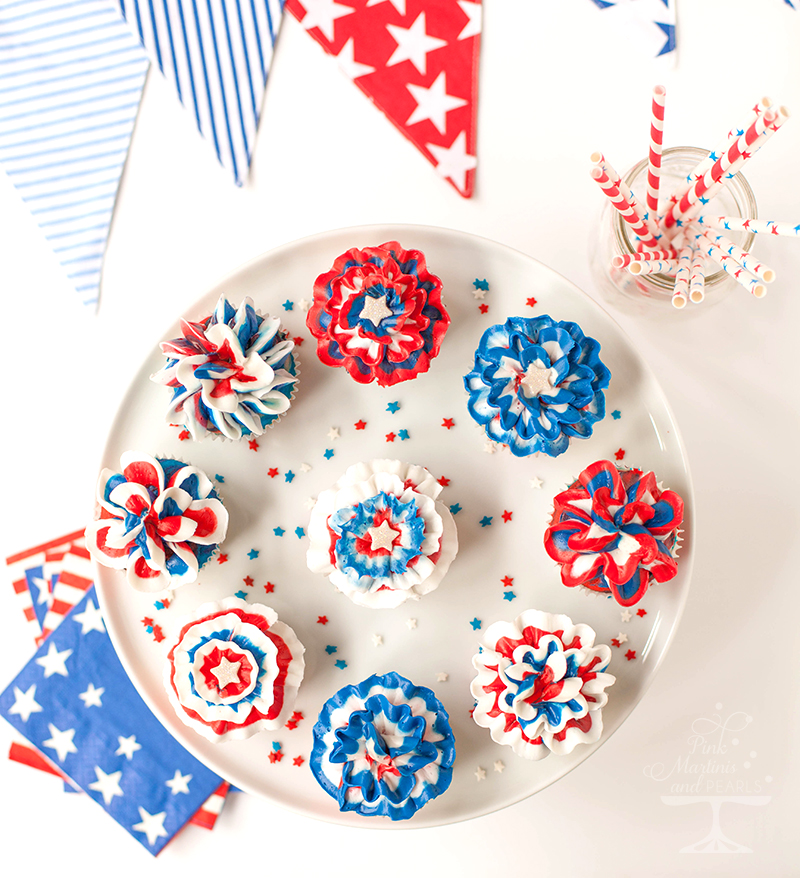
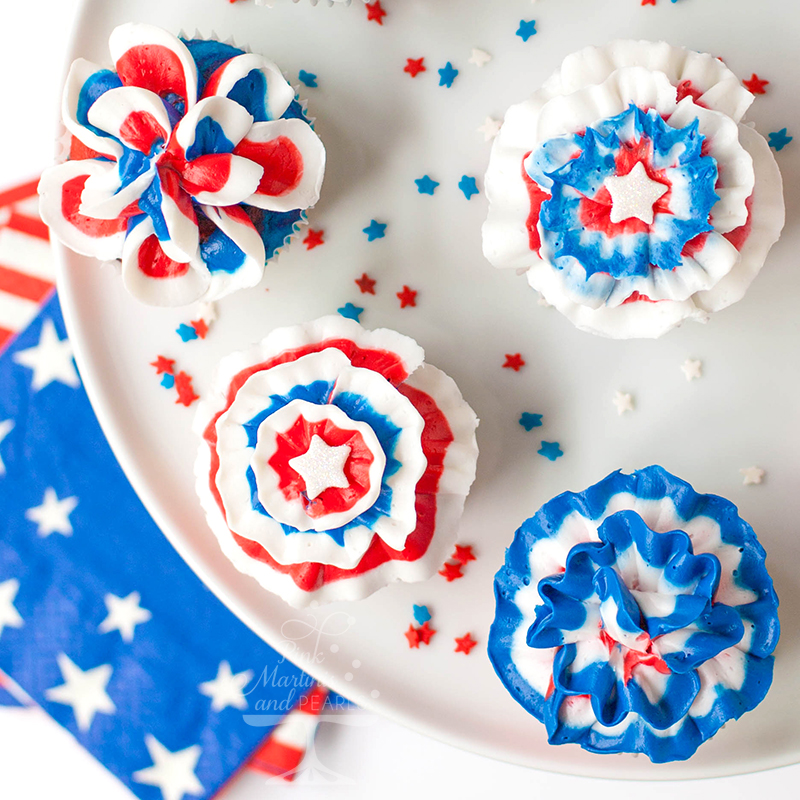
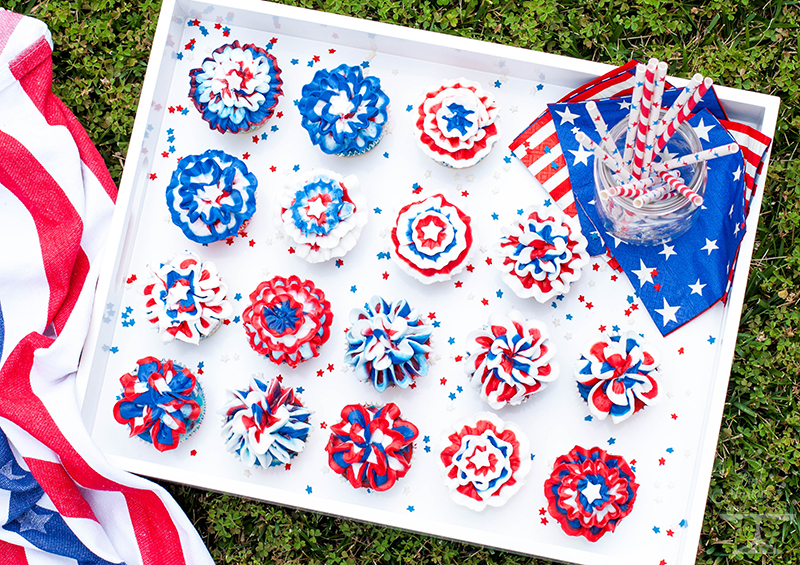
In this post I’m featuring the Wilton Cake Decorating Color Right Performance Color System and the ColorSwirl 3-Color Coupler to decorate my bunting and rosette inspired “Fourth of July Red, White & Blue Bunting Cupcakes.”
I’ve been wanting to try out the ColorSwirl 3-Color Coupler that let’s you pipe two to three colors at the same time and Wilton’s Color Right Performance Color System decorating color system. The coupler seemed specially made for the Fourth of July and although I didn’t pipe the classic swirls, using this special coupler helped me achieve the tri-colored look I wanted.
First, to go all out on using the patriotic colors for the cupcakes I decided to make the cake batter tri-colored also.
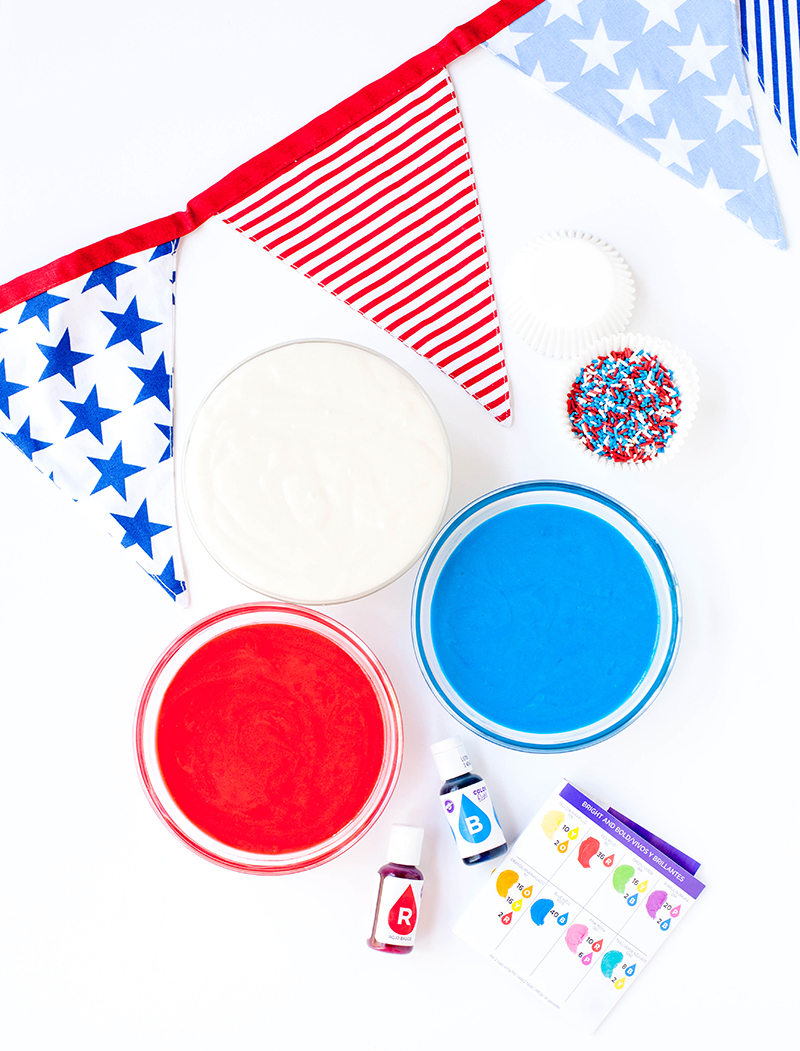
I used a boxed white cake mix using egg whites instead of the whole eggs for a truer white color. After mixing, I divided the batter in half. One half I kept white and the other I divided again for the red and blue. So to sum it up – for the total batter amount – half is white and one quarter is red and one quarter, blue.
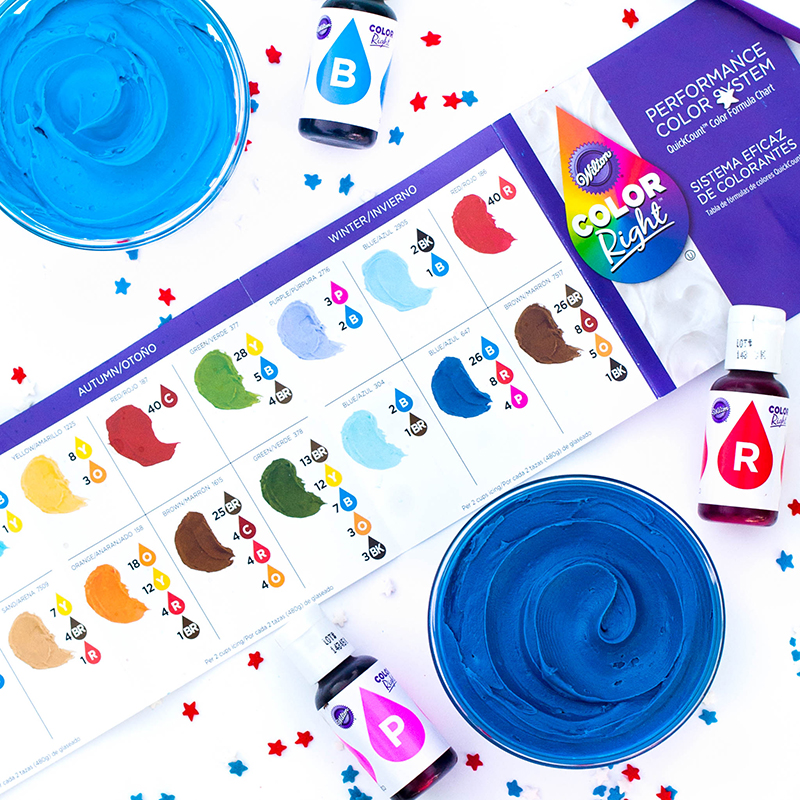
Let me tell you about using the Color Right Performance Color System. It’s a kit of eight ultra-concentrated base colors. The boxed set comes with a guide to give you the formula for 50 color combinations! The color categories are – Bright & Bold, Pastel, Neon, Neutral, Winter, Spring, Summer, Fall. You use less than standard decorating colors due to the concentration. When we get to the icing part of this post, you’ll see how I used three colors to get the exact shade of blue that I desired.
Another huge benefit to the color system is that by using the color guide an exact color can be replicated again should you run out of a batch and the colors also don’t make the buttercream icing runny. Yay!
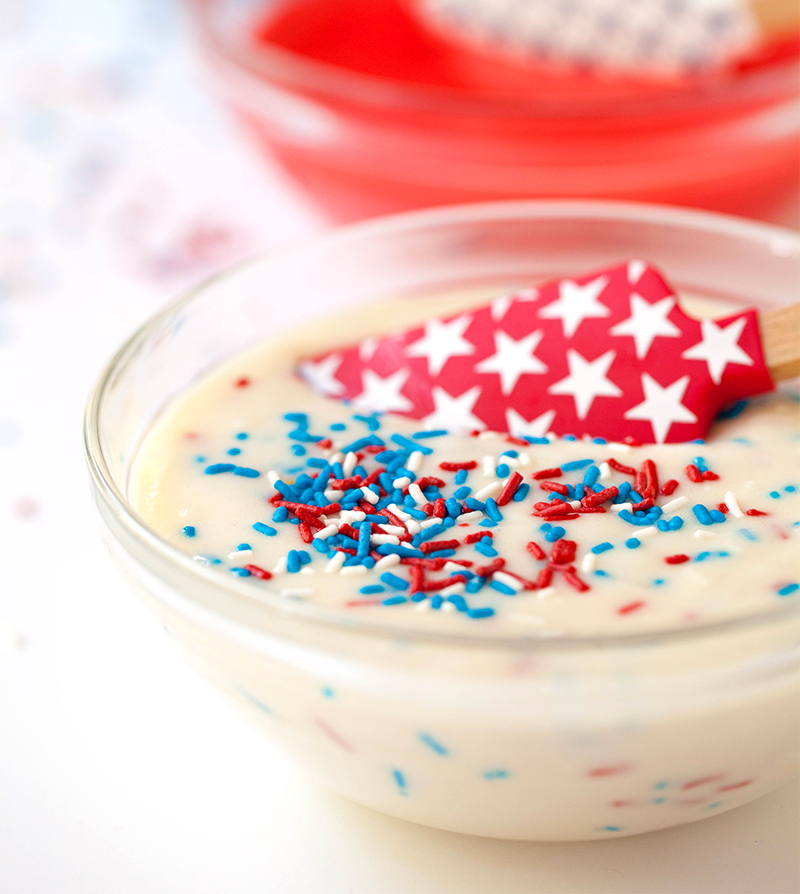
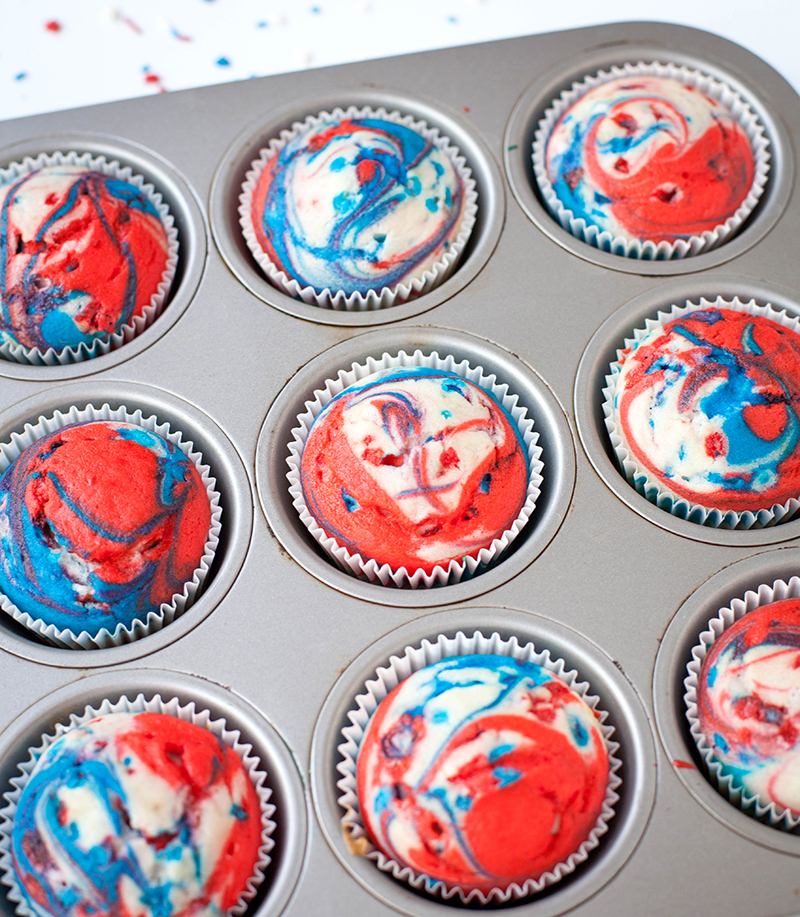
I used 5-7 drops of the red base color to make the cake batter red and the same amount of blue base color for the blue cake batter. I then mixed in a handful of red, white and blue jimmies into the white batter. When baked, it will give the white cake a ‘funfetti’ effect.
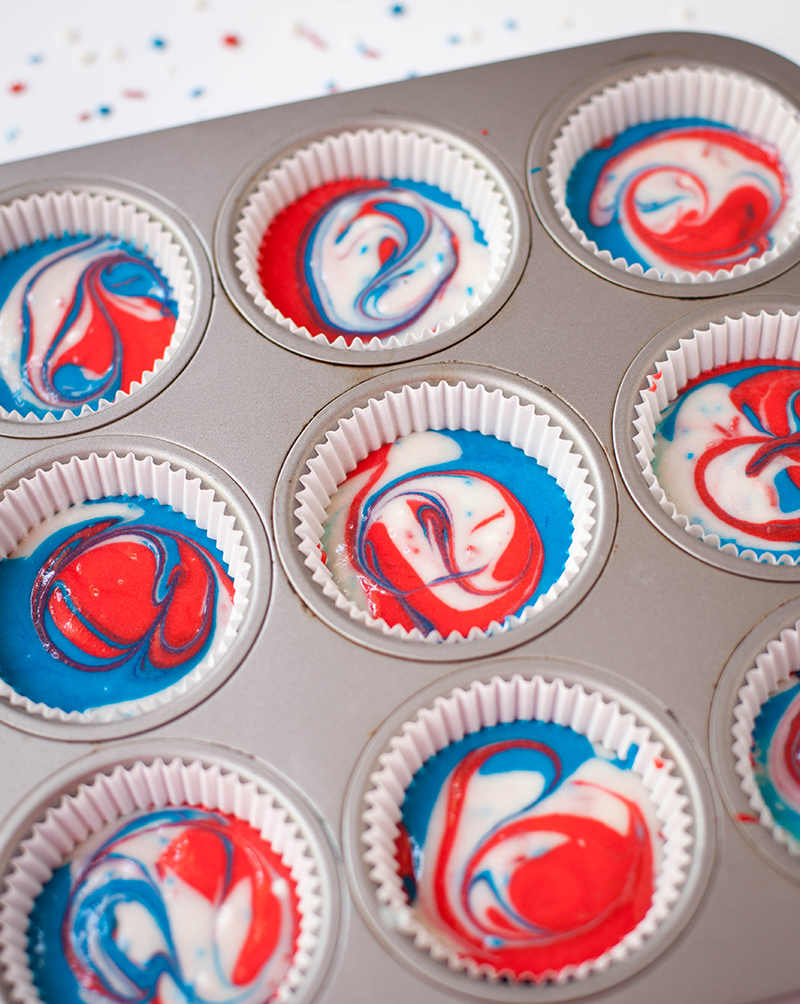
I experimented with the fine art of swirling three different batter colors so as not to over mix them since red and blue can get dark and muddy quickly. So this is my technique:
Place two tablespoon, more or less, of white batter per cupcake with a couple teaspoons, more or less, of red and the same for the blue. Top off with more white to fill and just a touch of red and blue. I then took a wooden skewer and made an ‘S’ one way and then the other if I felt it needed it more. That’s it! You can see one cupcake below, middle row-left where I was heavier handed with the two colors. I like the look of the colors with the white but whatever you like will be just fine. No one is going to inspect your swirling patterns, right?
And baked fifteen minutes later at 350 –
I have no idea where all those air bubbles came from but I think it was because the batter set out awhile longer than it would normally would have because I was photographing it.
Next step is my favorite – Decorating!!
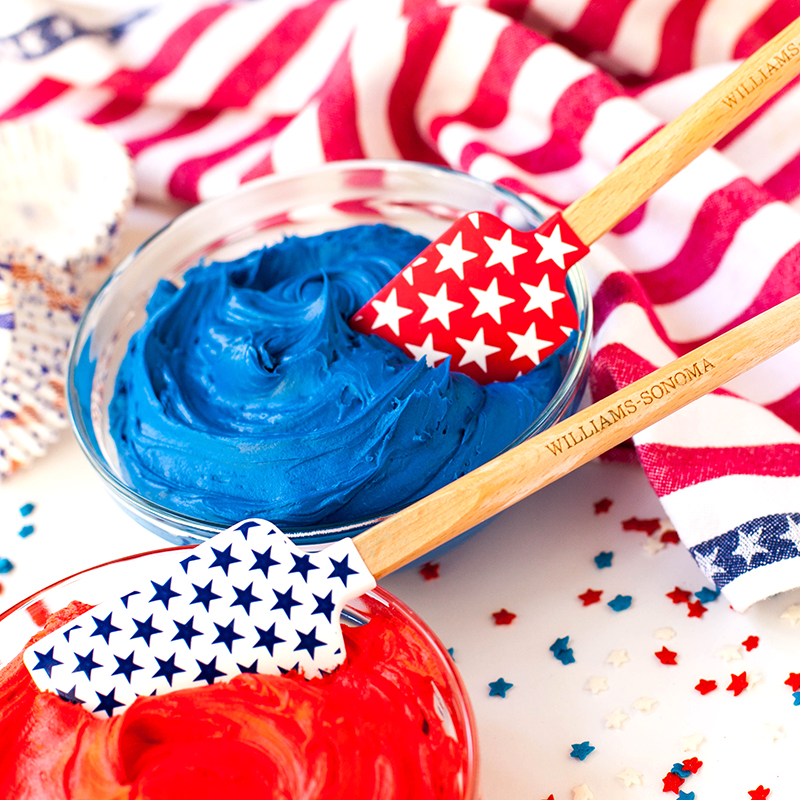
This is where I had a lot of fun using the Color Right Performance Color System. I wanted a true royal flag blue so I consulted the color guide which gave me the exact color formulation. All formulas are based on 2 cups of icing. I started with the base blue and added pink and red! I was skeptical, c’mon, red and pink in my blue? I couldn’t believe it but it worked perfectly! Who knew? I guess Wilton did. 🙂
Icing all set for the ColorSwirl 3-Color Coupler!
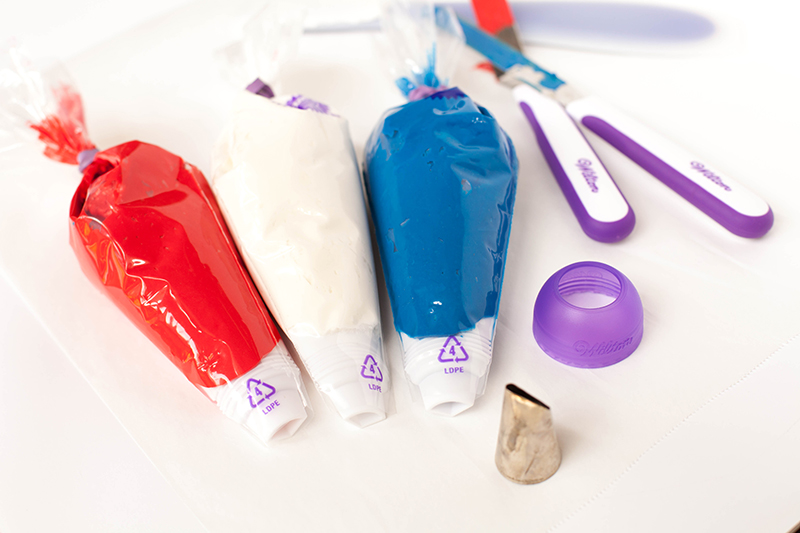
Here’s how the coupler works for three different colors –
Each color has it’s own coupler and bag. After inserting the couplers and filling the bags with icing, a decorating tip is placed on the end of the couplers and the purple twist ring is screwed over the three couplers and decorating tip to secure. Now you’re all set but I’ll share some tips in using the coupler system that worked well for me:
1. Don’t overfill the bags. You’re working with 3 times more icing and squeezing three bags at once. If your hands are smaller like mine, it’s a lot to hold and squeeze if it’s too big and where you’re piping a design that you have to move the cupcake around to decorate it.
2. Slipping an extra bag over the entire set up helped to keep all the bags more together for my grip.
3. Okay. You might think this is a little odd, but the decorating tip I used didn’t exactly fit perfectly on the coupler system and I knew this might be a challenge I was going to experience but I was also determined to make it work. I used a Petal tip #125 which has a slightly smaller base so I had difficulty securing the purple twist ring onto the threads of the three couplers with the tip in place so I duct taped the purple twist ring onto the bag and it worked great! I really wanted to use this tip so I had to find a creative way to make it work and I did! There are larger petal tips available that would fit on the couplers better but I used what I had. I’d recommend a slightly larger petal tip like the #126 or #127. You can see all the petal tips here – Wilton Petal Decorating Tips.
On the instruction sheet that accompanies the ColorSwirl 3-Color Coupler, Wilton recommends using the following decorating tips:
1M – classic star tip – the granddaddy of the swirl and roses look
1A – plain round tip
2C – closed star tip used for drop flowers
4B – a multi-toothed open star tip
These tips are over sized and the bases will fit over the three couplers and will not come out the top of the purple twist ring as a smaller tip would.
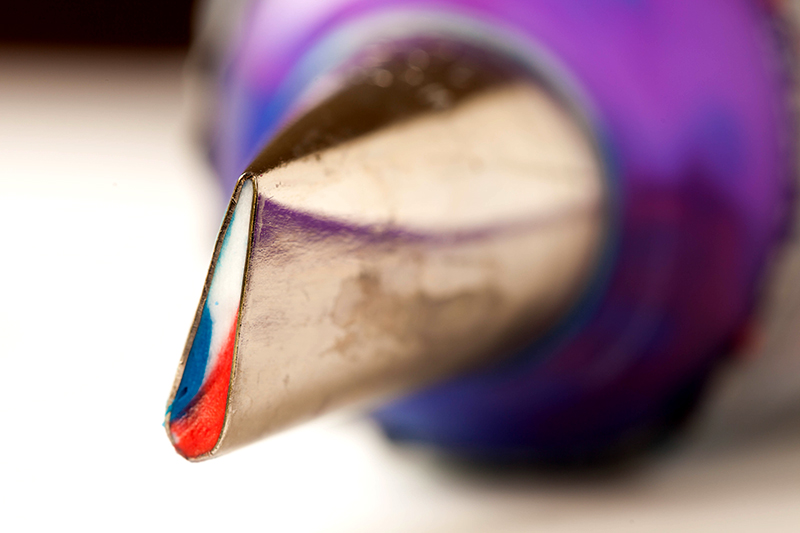
What was pretty cool was that I found out I could change the dominate color that was being squeezed out by swiveling the tip. I liked more of the white icing showing so I made sure the narrower part of the decorating tip pointed towards the white icing bag since more of that color would be shown on the cupcake as it was on the outer edge of the decoration. I pointed the wider part of the tip towards the center of the cupcake so it held more of the blue and red.
Another neat trick I found out just experimenting was in piping colors. If you look at the photo above of the close-up of the decorating tip, on the larger end where there is more room for two colors to come through, piping left to right produced more of the blue to show and piping right to left showed more red so I would alter my piping direction for a different color effect.
For a few glittering embellishments, I made fondant stars with an aspic cutter and sprinkled them with edible glitter and placed them here and there on top of the cupcakes.
I hope you learned a few techniques from this post. If you have any questions, I’d be glad to answer if you leave a comment.
Here’s wishing everyone a wonderful Fourth of July celebration!
Wilton Products I used to make the Fourth of July Red, White & Blue Bunting Cupcakes:
White Baking Cups
Color Right Performance Color System
ColorSwirl 3-Color Coupler
White Decorator Preferred Fondant – for the stars
Disposable Decorating Bags
Petal/Rose Decorating Tip #125
White Ready-To-Use Decorating Icing
As a Wilton Brand Ambassador and member of the Wilton Sweet Treat Team, I received product and/or compensation for this post by Wilton Cake Decorating. All ideas and opinions are my own and all the products were chosen by me to share with you because I use them and like them and thought you might like them too. 🙂












Oh my goodness, Marilyn! These cupcakes are absolutely darling and I LOVE the bright colors!! Also, I love that you talked about using egg whites instead of yolks in your white cake batter. I’ve never even thought to do that – genius!
Thanks, Danielle. I can’t take credit for the egg whites tip though, as it’s on the box but it’s something I learned when I used to make wedding cakes and I wanted that pure white color. 🙂
WOW!!!
You are so talented!
Hi Jan! Thank you very much. 🙂
These look so wonderfully festive! I can’t imagine the time and patience it takes to create these edible wonders. Whomever gets to admire and eat these are truly lucky! Happy Independence Day!
Thank you! Happy a fun holiday too! xo
Super cute!
Thanks, Lisa! )