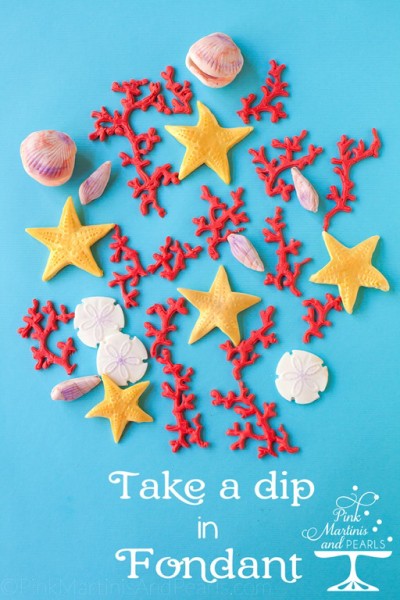
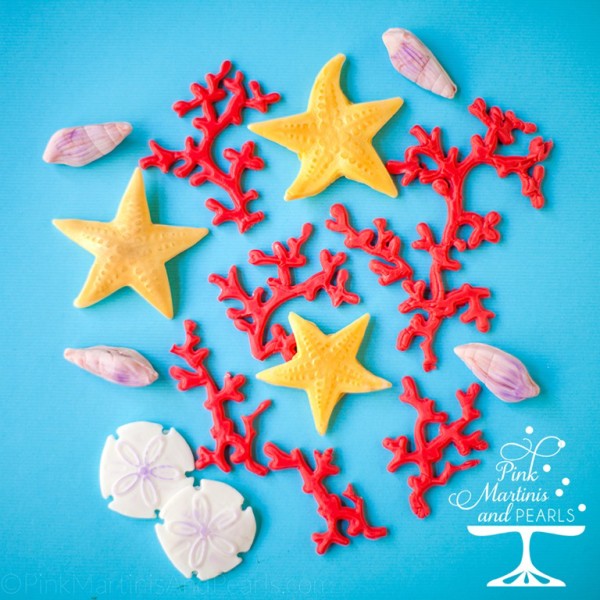
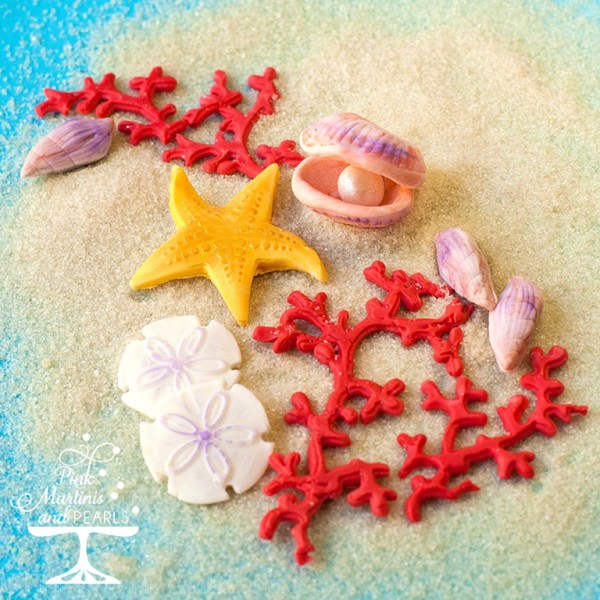
Have you ever used a fondant mold to make fun shapes for cake decorations or for cupcake toppers? That’s what I did to create these sea life fondant embellishments!
Fondant is very versatile to work with and I’ve used it many times to decorate cookies but when I attended the Wilton Sweet Up earlier this year I was introduced to molding fondant. This was my first time using a fondant and gum paste mold and I have to say, I LOVED, loved, loved it!
Using the fondant mold reminded me of when I was a little girl playing with Play-Doh. Remember how cool it was to mold different shapes? The principle is the same except now we can add luster dust to add dimension and interest to the molded shapes.
I’m also not a sculptor (think Mr. Bill from SNL and Gumby) so I don’t work with modeling chocolates but using the silicone mold made me feel like I had found my inner Michelangelo which gave me a huge creative kick start! I’m hoping Wilton comes out with a David mold in 2015! It would be big for bachelorette cakes, I’m certain. We could find an impression to embellish him from one of these molds – Nature Fondant Mold or the Baroque Fondant Mold or the Fern Fondant Mold. There’s got to be an impression that could pass for a fig leaf among the three, don’t you think? ![]()
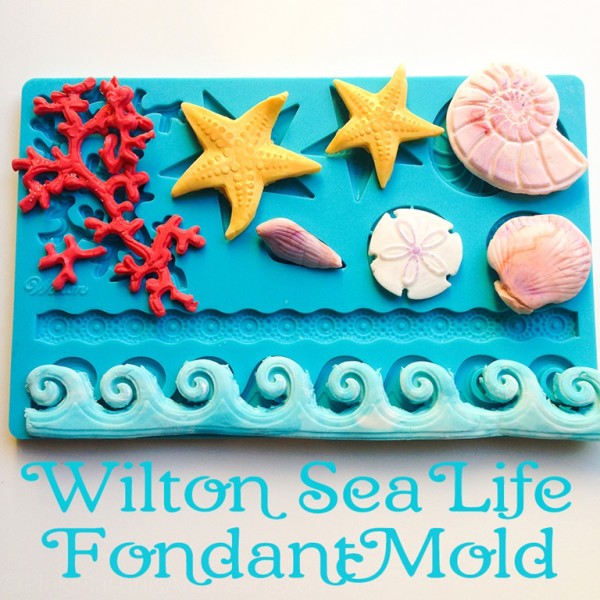
Getting back to the sea, for all the fondant embellishments I made in the photos, I used this one mold –
The Wilton Sea Life Fondant & Gum Paste Mold.
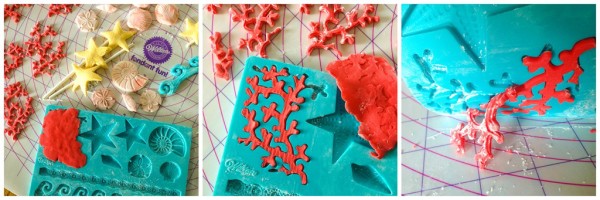
To prepare the fondant for the coral, I colored the fondant with a terra cotta gel icing color. I then dusted the mold with corn starch using Wilton’s Dust-N- Store dusting pouch. This is one of those fondant accessories you’ll wonder where it’s been all your life.
Oh, did I tell you this will be one of the many fabulous fondant items that will be included in an all-things-fondant give-away Wilton and I are hosting soon? More on this below!
Anyway, the mold needs to be either dusted with corn starch or ever-so-lightly coated with shortening so the fondant releases easily from the mold.
Next, I pressed the fondant into the coral impressions then cut the excess away using my spatula’s edge in a sawing motion.
I then gently guided the formed fondant from the mold. Bending the mold helps with this. I brushed off the excess corn starch from the coral and let it dry.
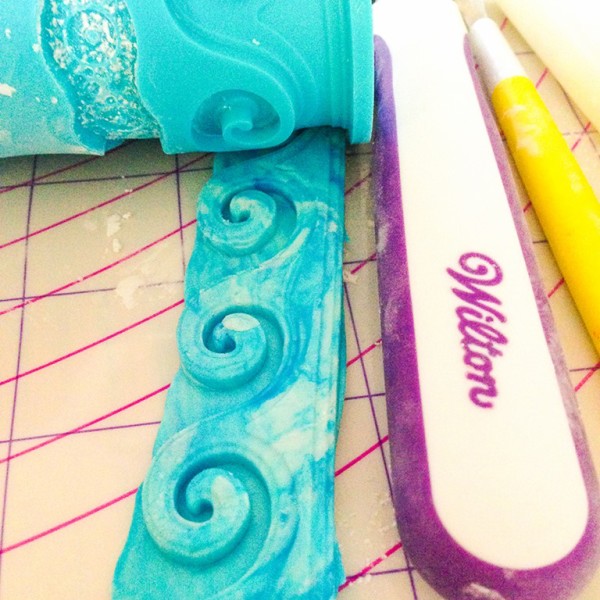
In the photo below, I marbled blue and white fondant, variegating the colors used for the waves.
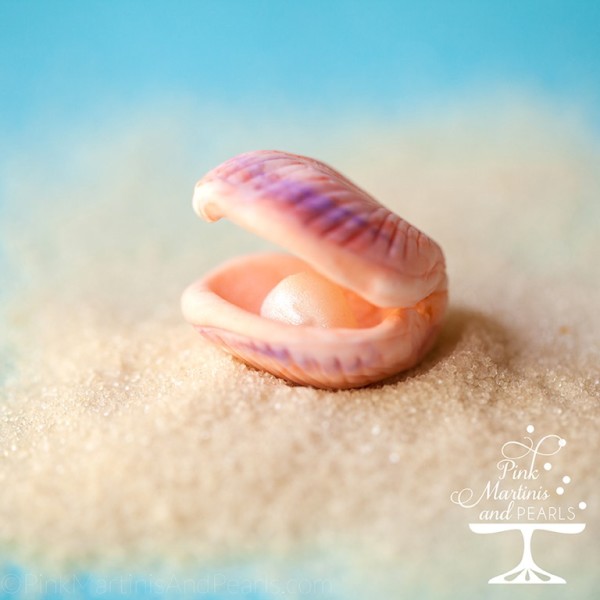
I took some creative license and made two shell halves from fondant that I had colored peach and marbled it with white fondant. I added interior depressions to the shells to hug a pearl.
A rolled ball of white fondant brushed with white pearlized dust created the pearl. I also dusted the outer shells with purple luster powder to give some color variation and interest.
I then moistened the areas on the back of the shells that touched each other and placed a small ball of foil on the edge of the joined shells until the two halves set and dried in this position leaving the pearl in view. When the shell halves were set, I removed the foil support. This took about 20 minutes.
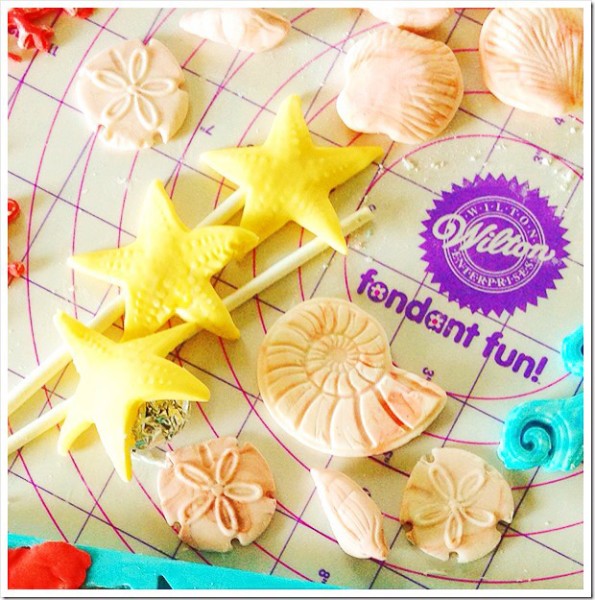
For the other small shells, the sand dollars and the larger nautilus shell, I rubbed purple petal dust onto them with my finger.
When making the starfish and to give the illusion of arm movements, I placed them over lollipop sticks to set and dry.
I finished the starfish by brushing them with gold luster powder and rubbing orange luster dust over the raised bumpy areas to bring out their texture even further.
To decorate the cupcakes using the coral as I was intending, I made sure the formed fondant was thoroughly dry so it would stand up without breaking. I found drying all the pieces on a cake rack to be best so the underside of the pieces would dry too. Of course, all of the decorations are edible.
In my next post, Part 2, I’ll show you the finished sea life cupcakes and give you a sneak peek to a Fabulous Fondant Give-away I’ll be hosting in September and sponsored by Wilton!
Thank you for visiting today! Have a wonderful week! ![]()
UPDATE: Here’s Part 2 – Endless Summer Cupcakes
Wilton Products Used:
Sea Life Fondant and Gum Paste Mold
Wilton White Decorator Preferred Fondant
9” Fondant Roller
Roll-N-Cut Mat
Dust-N-Store Dusting Pouch
White Pearl Dust
Past Wilton Posts –
Pretty Pink Petal Cake
Fabulous Fondant Daisies
Father’s Day Golf Themed Cupcakes
My Trip to the Wilton Sweet Up (Visiting the Mothership)
Peeps Brunch Bunnies
Whimsical Springtime Brunch
Twist Quick Coupler Review
Sweet Treat Team
This is a sponsored post. As a Wilton Brand Ambassador and a member of their Sweet Treat Team, I received compensation and/or product from Wilton Cake Decorating. All opinions and endorsements of the products I mention are my own. If I didn’t love them… you know. 🙂
