Decorated Cookies: Part II

Part Deux is here!

The cookie dough is very easy to make and I have added tips of what works well for me and hopefully you’ll find it helps make it fool proof for you too.
So let’s get rolling!
Pink Martinis and Pearls’ Sugar Cookies

3 3/4 cups flour
1 1/2 tsp. baking powder
1 tsp. salt
1 cup butter
1 1/2 cups granulated sugar
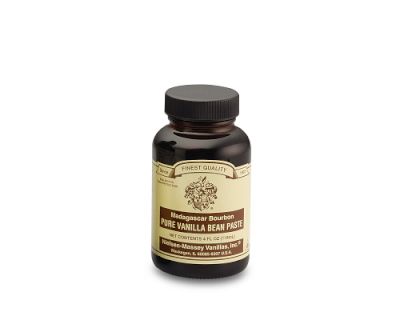
2 tsp. vanilla
2 large eggs

Preheat oven to 375.
Sift flour, baking powder and salt. Set aside.
Cream butter, sugar and vanilla until light and fluffy.
Add eggs one at a time beating well after each addition.
Slowly mix in dry ingredients until just blended.
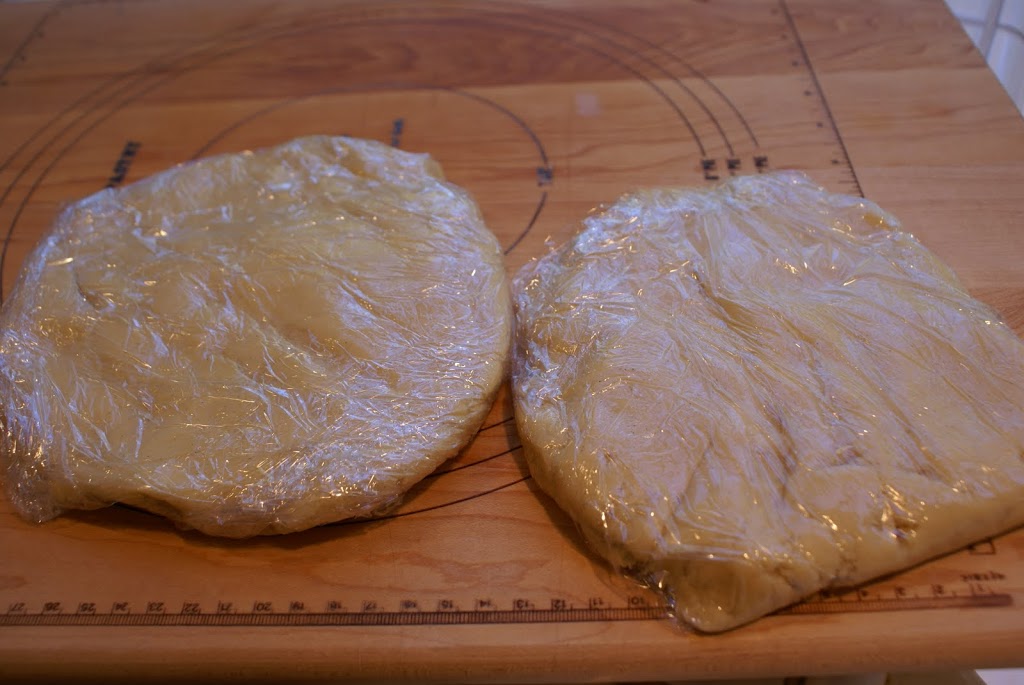
Divide the dough into 2 flattened rounds and wrap in waxed paper.
Placed the wrapped rounds in a plastic bag and chill until hardened, about 1 hour.

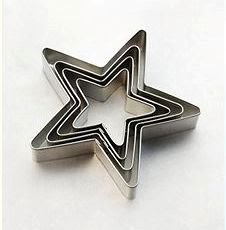
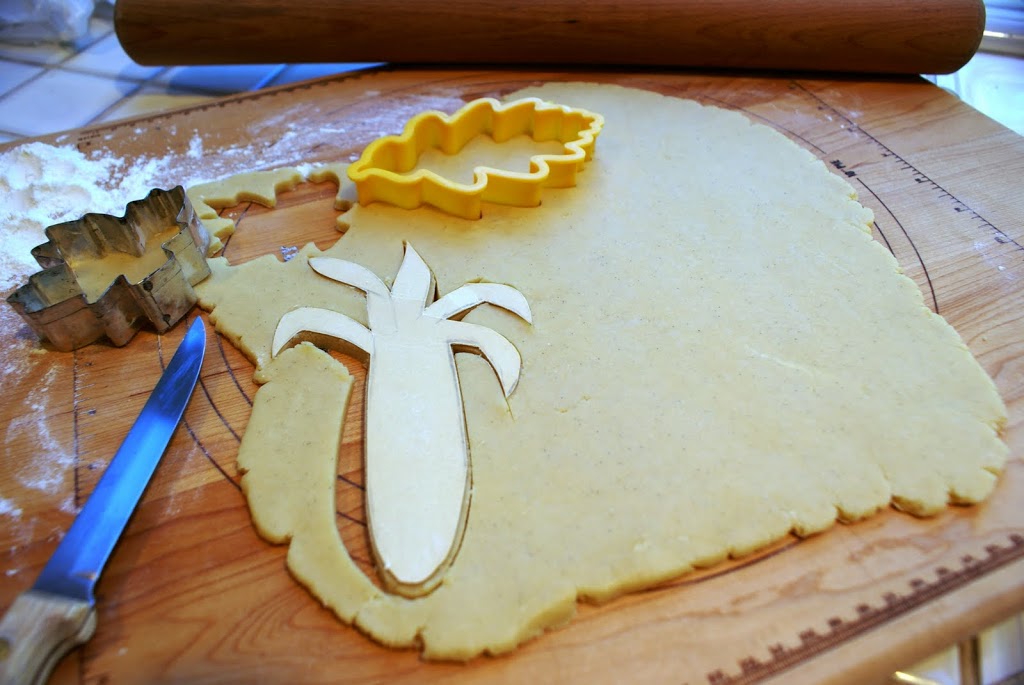
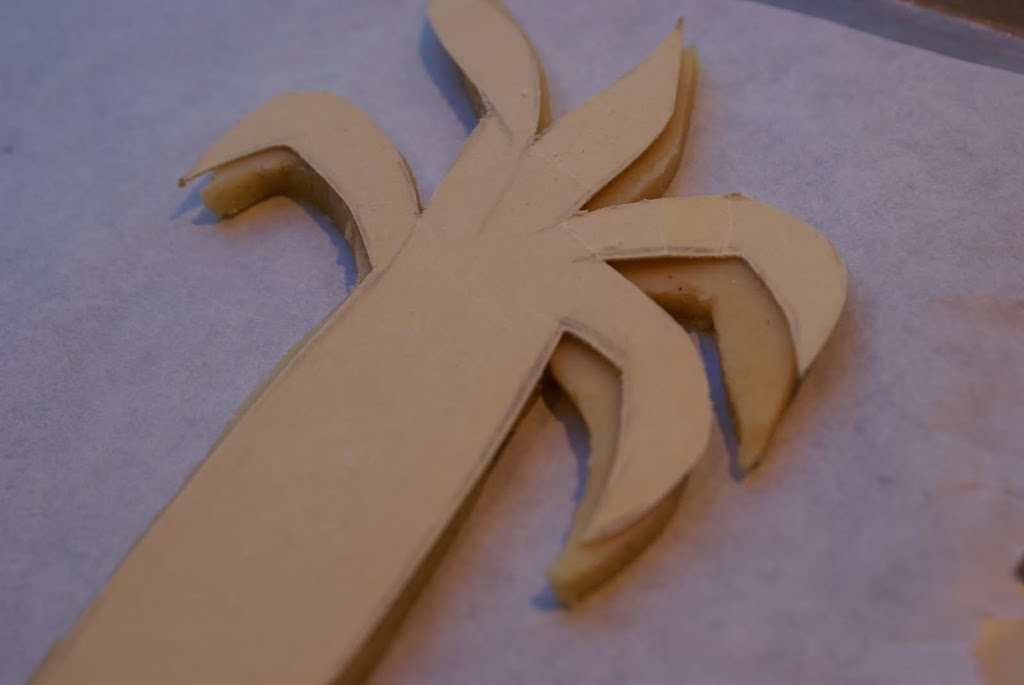
Roll dough on a lightly floured board to 1/8 inch to 1/4″ (1/4″ is my preference) and cut with the cookie cutter of your choice. If you are not icing the cookies after baking then you can brush them with milk and sprinkle colored sugar. Bake in the top 1/3 of oven 10-12 minutes.

For softer cookies (not recommended for iced cookies), roll a little thicker.
For slice and bake cookies, shape dough into a log about 2 inches in diameter and chill until completely firm or freeze. Slice 1/4 ” thick and bake 10 minutes until firm but not brown.

* See “Baking Tips” below.

Recipe Tips:
– I use Julia’s sweep and level method of measuring dry ingredients. I fluff the flour with a fork, scoop the cup into the flour container and level off with a straight edge.
– I prefer Horizon butter or another organic brand.
– Table salt, not Kosher. I agree with Julia again. Use regular table salt in baking and not a coarse grain like Kosher which will not dissolve well into the dough. I have tried this theory and it is true. Would Julia lie?
– Sometimes I will use the Nielsen-Massey Vanilla Bean Paste instead of the N/M vanilla extract The paste and extract are interchangeable in measuring amounts .

– I use the ‘Martha Method’ for mixing dry ingredients with the butter mixture. After the initial adding of the flour so it is incorporated enough so it won’t fly over everything try 3 quick on and offs at high speed and it should be all mixed together and done.
– Of course if you have your own methods, go for it but I highly recommend the salt advice at least. Everything else is just technique preference.

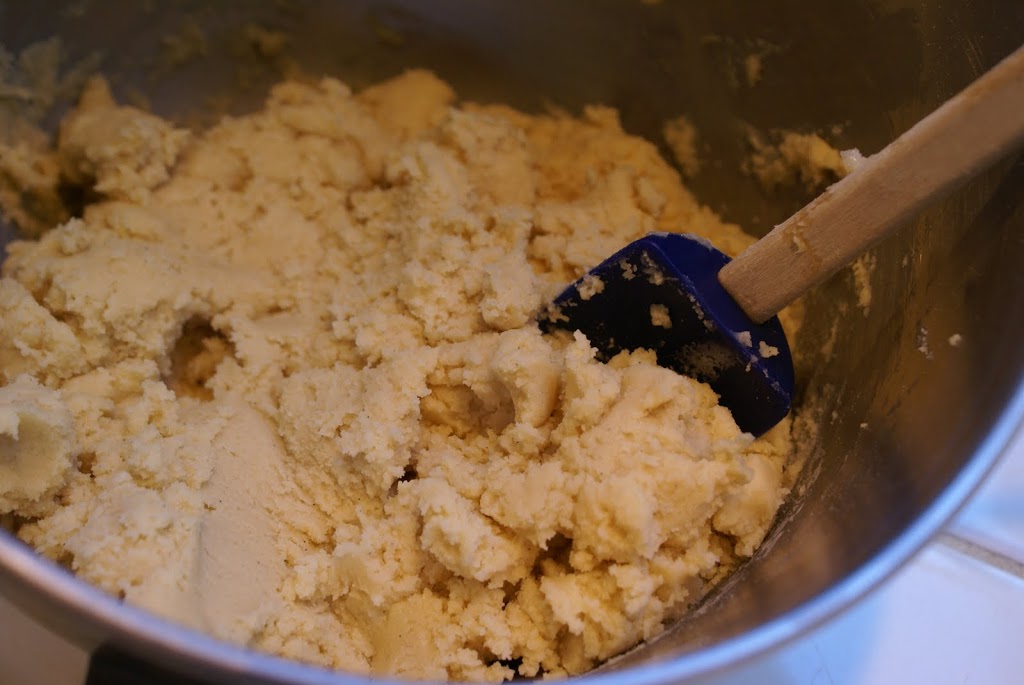
The dough will be moist and soft.

Divided and wrapped ready for the frig.

The Best Baking Dynamic Duo Ever:
Cushion- Air baking sheets and Parchment Paper. Period.
Parchment paper has gone mainstream now and can be found everywhere. I re-use the same parchment sheets for the entire batch of cookies. You do not need to change it with every turn in the oven. I have found using the Silpat mats do not work well with the insulated baking sheets. It burns the cookies when used on this kind of baking sheet or at least that has been my experience. The silicone mats are only good for non-insulated sheets.
Micro-Managing Your Dough
Ok. It’s time to show this wad of goodness who’s boss! I think this is where some people panic and give up and think they can never get a good cut-out because the dough sticks to the surface.

We’re gonna fix this problem for ya…

Rolling Tips:
Wait until the dough is thoroughly hard. I mean really hard. Take out one round from the frig and let it sit for a few minutes at room temp but we are still going to work with it while it’s hard. Flour your surface lightly and have extra flour on hand. Unwrap the dough and place it on top of your floured surface, grab your rolling pin and start pressing down and rolling out from the center. I usually have a stool to stand on while I do this so I can get more strength and leverage. After a few rolls it is amazing how it starts to become more pliable. If the dough round cracks around the edges from the pressure press it back together. This dough is very forgiving.

I rotate the dough around while I am rolling it out like I’m making a pie crust. I would be lost without my French Rolling Pin. The reason I love my rolling pin so much is because it is longer than the width of my dough I do not get any impression marks from the ends of the pin like I would get if I used a conventional pin with handles. My pin is not tapered but I think it would easier to use than mine since where your hands rest is smaller. I keep a small pile of flour on the board to keep my pin well floured while rolling.

Key Point #1:
Loosen the round from your surface regularly as you roll out the dough with a flat offset icing spatula and slip some more flour between the surfaces.
Key Point #2:
Before you cut the dough with the cutter shape, slip the spatula under the dough again to make sure it is not sticking to your surface.
Now you are ready to cut your shapes.

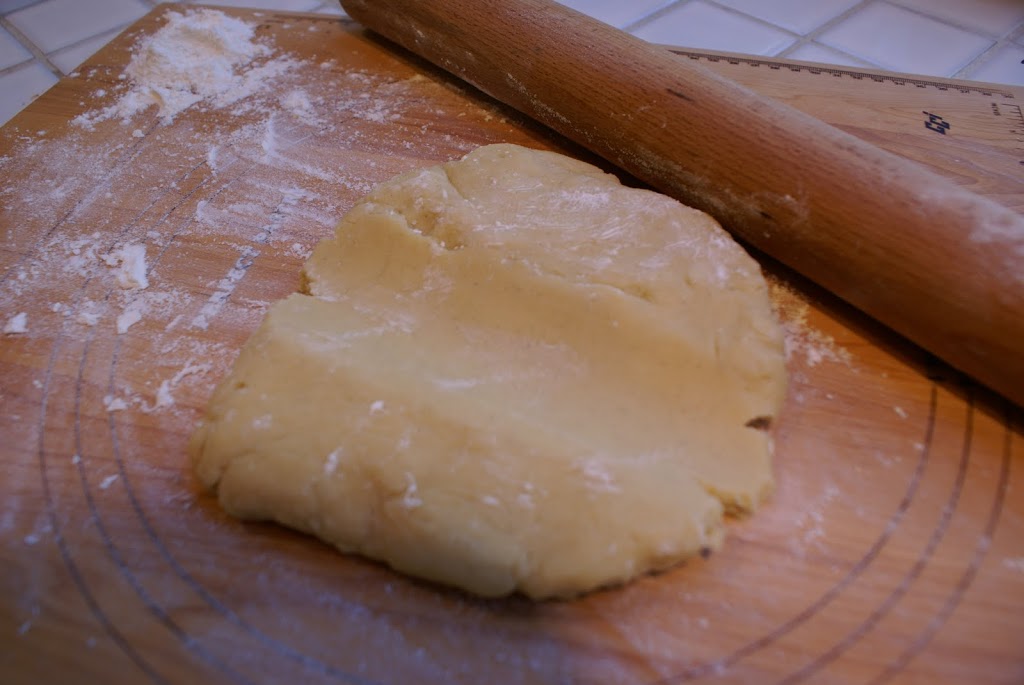
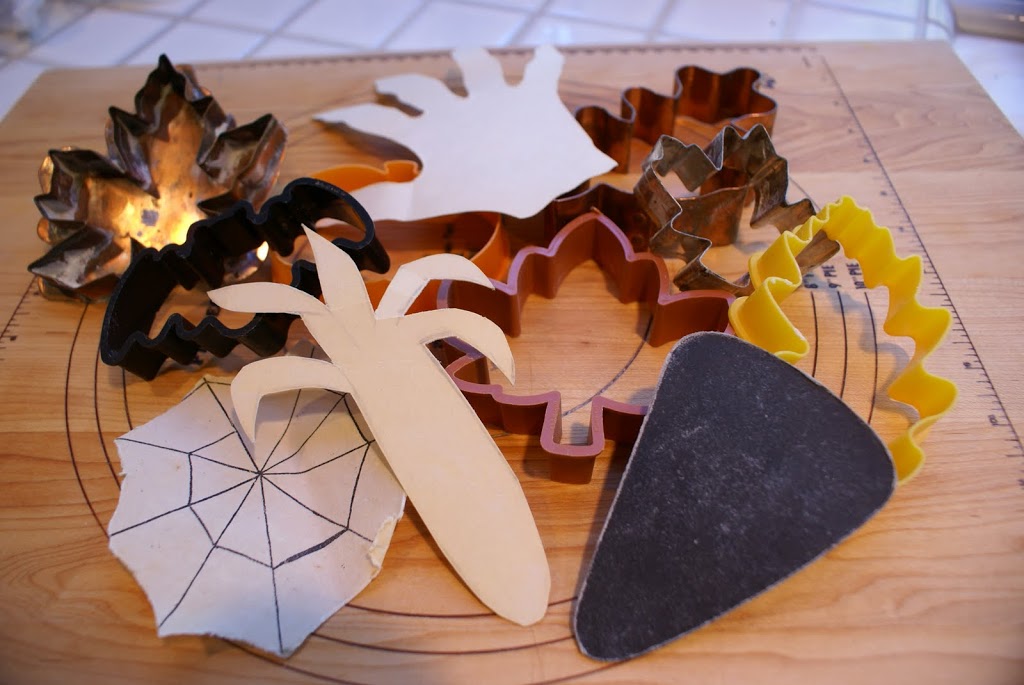
I like to dip my cutter into flour when I see it sticking to the dough but it won’t if the dough is cold! When the dough is cold and stiff, the cutters work well, designs come out sharp and transferring to the cookie sheet with your shape in tact is a snap!
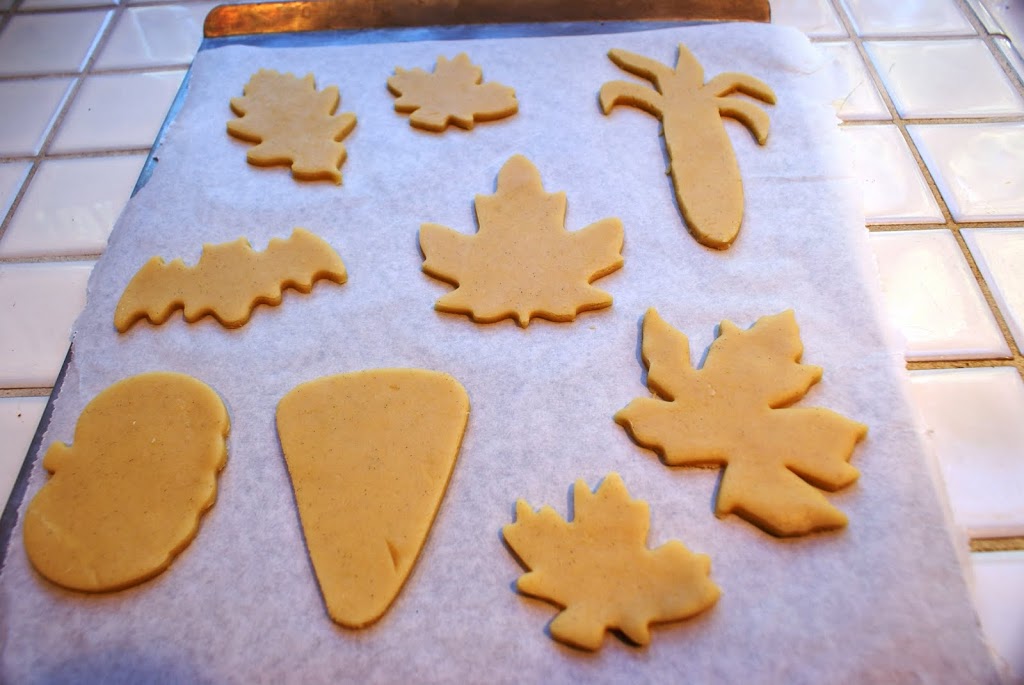
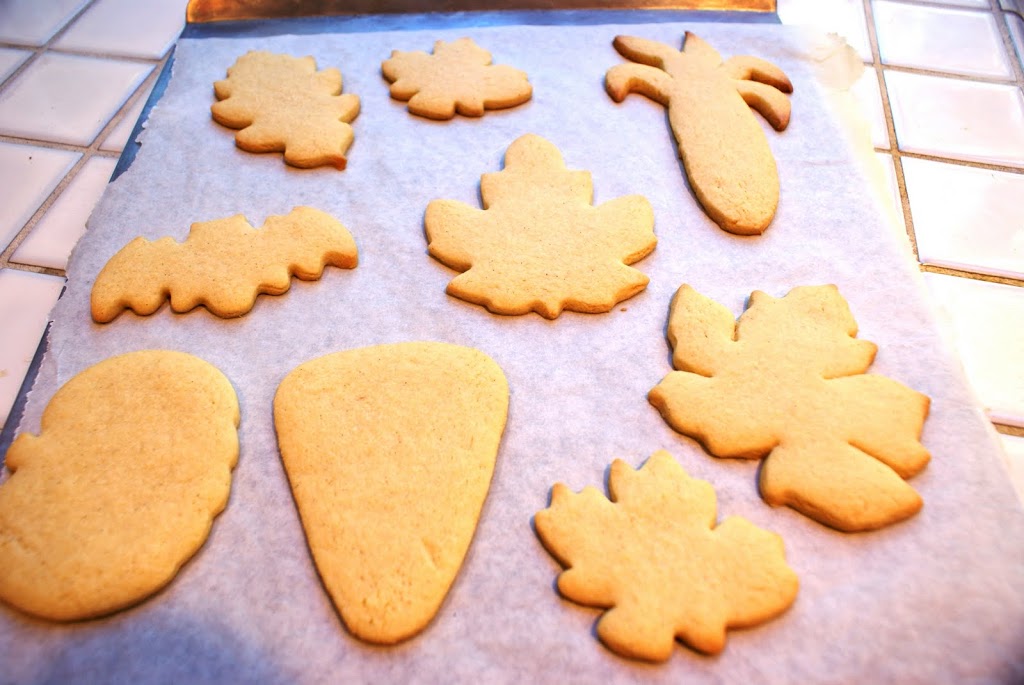
Gather up the pieces and re-roll if the dough if it’s still cold enough but after a couple cuttings I usually stick it back in the frig and begin working with the other round while it sets up again.
Key Point #3:
If you are cutting out a shape by hand, keep your template on the cookie surface while transferring to the cookie sheet. This will help the cookie to retain it’s shape because the template sticks to the cookie’s top and if the cookie shape should shift in the transfer, you have the template to guide you so you can push the dough back into the shape of the cookie.

Baking Tips:
Everyone’s oven is different. I have a convection oven and never use it because I find my cookies get browner faster in the back with the fan on. No bueno. I also only put in one baking sheet at a time.
The general rule for sugar cookies are to only bake them until they are set and still have no color to them. They are not supposed to be golden or browned BUT if you are going to ice your baked cookies you need them less soft than what they normally would be so bake them longer just until you see the edges turn color.

Unbaked.

Baked.

The cookies will puff while baking and settle down again and naturally they will come out a little bigger than when they went into the oven but they hold their initial shape very well and will never spread to an unrecognizable shape. You might get a couple with a mind of their own once in a great while but they are special and are the “baker’s piece!” 😉

Let them sit a few minutes on the cookie sheet before removing them to a rack. Cool completely before decorating or storing. Cookies can also be frozen for decorating at a later time.

Part III – Icing & Decorating
SHARE THIS POST:Share on FacebookTweet about this on TwitterPin on PinterestEmail to someoneGoogle+

Comments

  1. Okay, I’m printing this out. I don’t make sugar cookies often, but this summer I bought some “princess” cookie cutters on sale at Williams Sonoma and have been dying to try them out. I know, I know, I should be using fall cookie cutters. 😉

    Thanks!

  2. Hi there! First of all I want to say that your are absolutely beautiful! I love all of your pictures of you and your hubby and your boys! What a nice family, and I must say, yes, you are quite the little prepster! What great photos.
    I have missed a lot this week, and I’m trying to catch up.
    I can’t wait to make some cookies! I just bought some new big cutters. I got a sail boat, an anchor, a poodle, a flower pot, an elephant, and a puzzle piece because my daughter loves teaching kids with autism. (That is the symbol.) Anyway, I hope your doing well and have a great trip! Can’t wait to get baking. Did you ever check out the Flour Pot website?

    XOXO

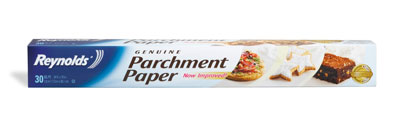
  3. Ok, I will make these. Can’t wait for part III. Love my Airbake sheets and that vanilla. Have never thought to use the paste though.

  4. I am in love! Thank you so much!

    I was in a hurry last night, and I decided to use store-bought sugar cookie dough. As Mrs. PM would say, “No bueno.” My cute little onesies turned into ugly little blobs. 🙂

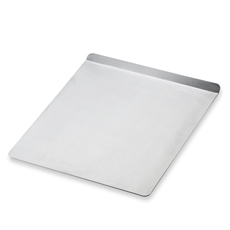
    So, where could one find these Cushionair baking sheets? Are these the right ones?
    http://www.williams-sonoma.com/products/sku7080823/?pkey=csheet-pans-cookie-sheets

    Thanks for the tutorial! I’m lovin’ it!

    Andrea in TN

  5. Never mind on the Cushion Air sheets. I just followed your link. I was hoping to use a WS gift certificate and buy them there, but they’re so much cheaper at BB&B that I think I’ll save my gift certificate for things exclusive to WS, like some cool cookie cutters!

    Andrea in TN

  6. Andrea ~ I don’t know if you will see this but if you have any questions while you are making the cookies, shoot me an email and I’ll give you my cell so you can call me. 🙂

  7. How many cookies does this recipe for sugar cookies make? Am going to make it for a baby shower favor for 26. Also, how long in advance of the event can I make & bag them? Am hoping to ice them Wed night for a shower on Saturday.

    Love the way your cookies look!!!

  8. Hi Pnelson ~ depending on the size of your cookie a batch of dough roughly makes 24 decent sized cookies. You could probably get 26 out of the recipe. You could also make a half batch or freeze whatever you have left over.

    As for storage, I still have cookies I made for samples that are months old and look perfect but I don’t like to make them more than 2 weeks out for eating.

    Make sure you ice them well ahead of your due date and allow them to dry. Sometimes it can take longer than what you had planned due to humidity.

    Good luck! 🙂

  9. I hope to make these today. They sound wonderful.
    I love your pretty blog and your cute personality….so…I am signing up to follow.
    Come see me when you can..
    xo bj

  10. Thank you for posting this recipe. It is by far the best I have tried yet. The cookies I made turned out with it turn out perfect!